How to Convert PNG to ICO for Website Favicons (Step-by-Step)
How to Convert PNG to ICO for Website Favicons (Step-by-Step)
It's a busy Tuesday morning here in Colombo, the work week is in full swing, and you're hard at work on your website. You’ve spent countless hours getting the design just right, crafting the perfect text, and selecting beautiful images. It’s your digital home, your online storefront, your personal portfolio, and you are incredibly proud of it. But there’s one tiny, small, but nagging little detail that just doesn’t look quite right, that makes your site feel just a little bit… unfinished.
I want you to do me a quick favour. Look up at the very top of your web browser, at all of the different tabs that you have open right now. See those tiny, little pictures right next to the website names? That is your website's digital handshake. And if your tab is just showing a generic, boring globe icon, then we need to talk. It’s time to fix that. It’s time to give your beautiful website its own, unique, and professional branded favicon. Don’t worry, this isn’t a complicated or a technical task. In fact, I’m going to walk you through the super simple, step-by-step process of how to do it right now.
First, A Quick and Important Refresher on Our Important Mission
Before we start on the practical steps, let's just quickly remember what it is that we’re trying to achieve, and why it’s so important. That tiny little icon up there in the browser tab is called a favicon, which is short for "favourite icon." Its job, despite its small size, is surprisingly huge. It is a constant and powerful visual reminder of your brand. When a user has a dozen or more tabs open which is basically all of us, all of the time your unique favicon is the little beacon, the visual signpost, that helps them to quickly and easily find their way back to your site in that sea of other open tabs. It also appears in their bookmarks list, making your site easy to spot. It’s a small but absolutely vital piece of your online brand identity that makes you look professional and complete.
Step One in Our Journey: Choosing and Preparing Your Perfect Source Image
Every great recipe always starts with great, high-quality ingredients. And for creating a perfect and professional-looking favicon, your main and most important ingredient is your source image. The absolute best and most highly recommended choice for this job is a high-quality, perfectly square PNG file. This should ideally be a very simple version of your logo, or a key and easily recognizable brand mark. Why does it need to be square? It’s because it will fit neatly and perfectly into the various different square icon sizes that the final, completed ICO file needs to contain. So, your very first practical step on this journey is to get that beautiful, high-quality, and perfectly square PNG file ready to go on your computer.
Why a High-Quality PNG is Your Absolute Secret to Success in This
You might be wondering, why a PNG specifically? Why not a JPG or some other format? Well, there are two very good and very important reasons. First, as you might already know, PNG files are "lossless." This is a fancy way of saying that they are perfectly sharp and crisp, with absolutely no ugly or blurry compression artifacts. This is absolutely essential for a logo or an icon, which needs to look as clean as possible. And second, and just as important, the PNG format supports transparency. This means that your logo can have a completely clear and see-through background, which will look so much better and so much more professional than having it stuck inside a clunky and amateurish-looking solid white box. Your high-quality, transparent PNG is the perfect starting point.
Step Two: Let's Meet Your Simple, Fast, and Friendly Conversion Partner
Okay, so you have your perfect, square PNG file all ready to go. Now, we need to perform the magic trick. We need to convert it into that special, multi-layered, and technically correct ICO format. And for this, you absolutely do not need to go and download any complicated, clunky, or expensive piece of software. All you really need is a simple, fast, and completely free online tool that is designed for this very purpose. A site like pngfire.com is your perfect and ideal partner for this important task. It’s a beautifully simple and completely browser-based converter that is specifically designed to make this entire PNG to ICO process completely and totally effortless for absolutely everyone.
Step Three: The Easy, Hands-On, and Magical Conversion Process
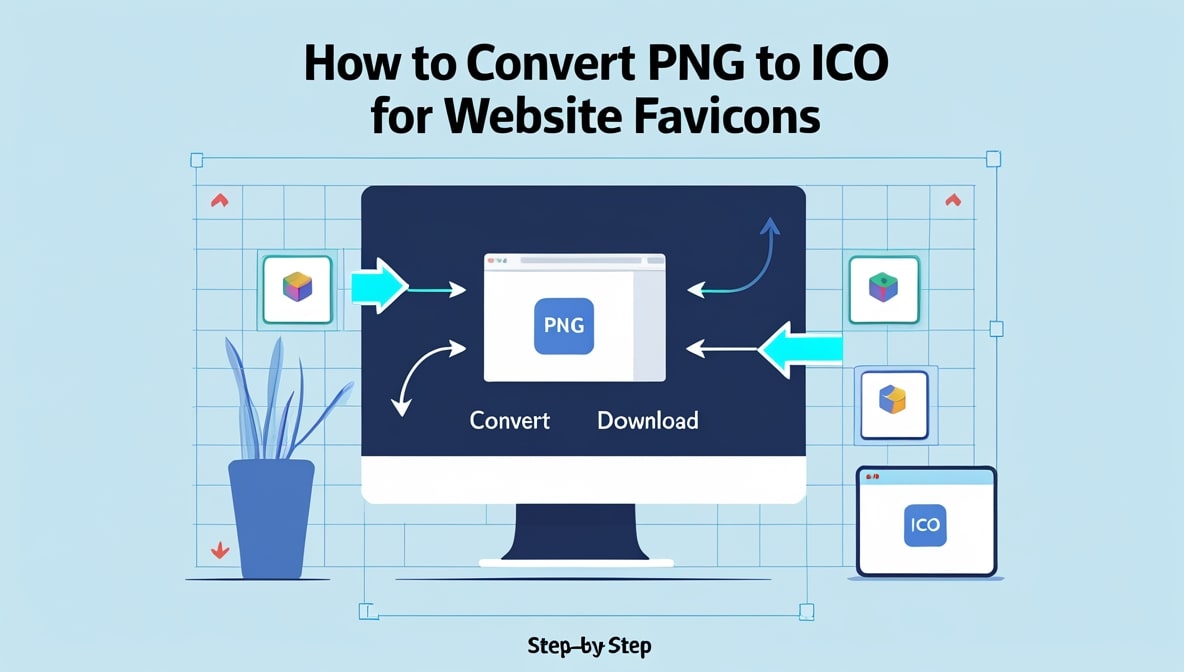
This is the part where the magic actually happens, and I promise you, it is so much easier than you might think. You go to the website. You will be greeted by a clean, simple, and intuitive upload area. You can just drag your beautiful, square PNG file from your computer’s folder and you can drop it right onto the page. You will then see a clear and simple option to choose your desired output format. You simply select "ICO" from the list of available options. You click that big, satisfying 'Convert' button. You wait for just a few seconds while the powerful tool does all of its clever and technical work in the background, and then… a download button will appear. That’s it. You have now created a professional favicon and you can download your brand new favicon.ico file.
What Just Happened? A Quick and Interesting Peek Behind the Scenes
It’s worth taking just a moment to appreciate what that clever online tool just did for you in those few seconds. It didn't just simply rename your file from .png to .ico. It performed a much more complex and much more valuable task. It took your single, high-resolution PNG file, and it automatically and intelligently generated a whole series of different, industry-standard icon sizes from it. It created the tiny 16x16 pixel version that is needed for most browser tabs. It created the slightly larger 32x32 pixel version that is often used for taskbars and bookmark lists. And it might have even created a few other, larger sizes as well. It then took all of these different and perfectly rendered sizes and it bundled them all together, perfectly and correctly, into one single, highly compatible, and professional ICO file.
A Real-World Example: A Colombo Blogger Finally Gets Her Brand On
Let's imagine a popular and very creative lifestyle blogger who is based right here in Colombo. She has a great personal brand and a beautiful, custom-designed PNG logo that she uses on her blog and on her social media. But, for years, she’s never quite gotten around to creating and uploading a proper favicon for her blog. She follows this simple and easy guide. She takes her square PNG logo and she uploads it to a simple online tool like pngfire.com. She converts it to the ICO format and she downloads the new file. She then logs into her WordPress dashboard, she goes to the "Appearance" and then the "Customize" section, she finds the "Site Identity" tab, and she uploads her brand new favicon.ico file. In less than five minutes, her very popular blog now has a beautiful, professional, and on-brand favicon that perfectly matches her brand.
Step Four: The Final, Easy, and Deeply Satisfying Step - Uploading to Your Site
You’ve created your beautiful, new icon. You are on the home stretch! The final and most satisfying step in this entire process is to actually tell your website to start using it. As we just saw in our real-world example, for most modern and user-friendly website platforms like WordPress, Shopify, Wix, or Squarespace, this process is incredibly simple and beginner-friendly. You just need to look for a section in your website's main dashboard or in its theme customizer that is called "Site Identity," "Branding," or "Favicon". In that section, you’ll almost always find a simple and clearly labelled option to upload your newly created .ico file. You just upload it, you hit the save button, and you’re done.
A Quick but Very Important Troubleshooting Tip: "Where's My New Icon?"
So you've done everything right. You’ve created your icon, you’ve uploaded it to your site, you’ve saved all of your changes… but when you go and look at your website, you’re still seeing the old, boring one. Don't panic! This is a very common, very normal, and very easily explained situation. Your web browser is a clever thing, and it "caches," or it saves, old versions of icons and other site assets in order to make things load faster for you in the future. It might just take a little while for it to realize that there's a brand new one that it should be using. The very first thing that you should try is to clear your browser's cache. If that doesn't immediately work, just be a little bit patient. It will almost certainly show up for you and for the rest of the world very, very soon.
And there you have it. The complete, step-by-step, and surprisingly simple and easy journey from a standard, everyday PNG file to a professional, branded, and beautiful favicon that is live and working on your website. It’s one of the smallest and most frequently overlooked and forgotten details in all of web design, but it has a huge and disproportionately large impact on how professional, how trustworthy, and how complete your online presence feels to your visitors. It is the final, essential, and beautiful polishing touch that every single great website truly deserves. And the most wonderful and empowering part of all of this is that creating a perfect, high-quality, and technically correct ICO file is no longer a difficult, frustrating, or technical chore that is reserved for the pros. With a fast, free, and incredibly simple online tool like pngfire.com, it’s a quick and easy five-minute task that every single website owner can, and absolutely should, complete today.